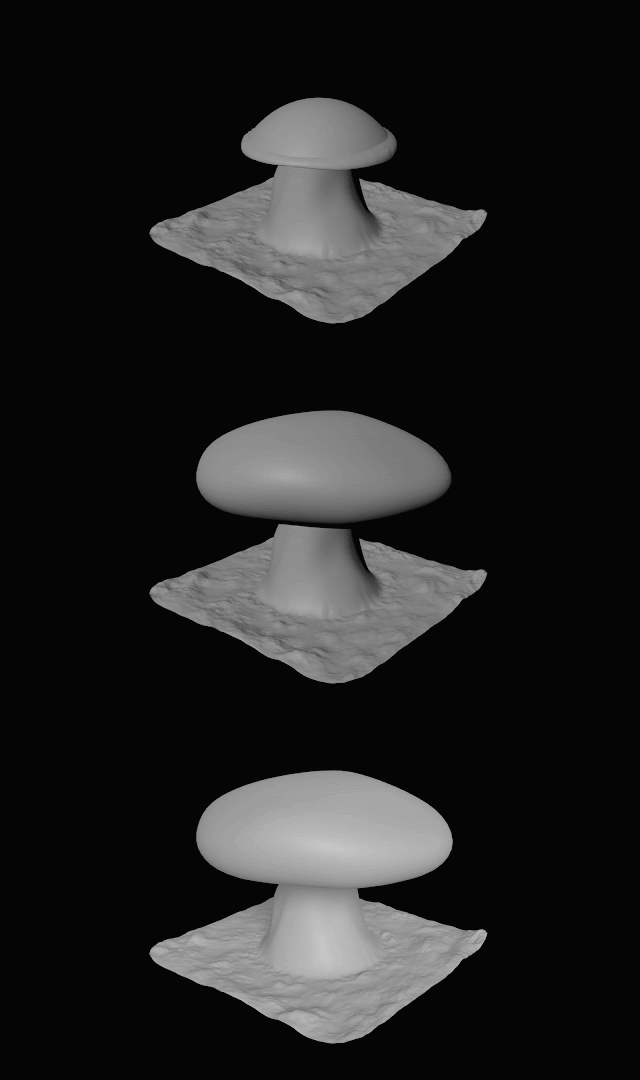
Today I've been spending some time looking at reference photos of pufferfish as I use Mudbox and Substance Painter to create my textures. Unlike my previous experiments, I modelled into the sphere since I wanted the spines to be facing downwards (I wasn't sure how I could achieve this with a 2D displacement map). I've brought that model into both Mudbox and Substance Painter to create my height, normal, gloss, specular, and diffuse maps.
I'm finding that I prefer Substance Painter, but I do like the normal map I created using Mudbox so I may play around and combine the maps I am making. I also think that my textures will look better (or at least different) once I bring them into Arnold since they will have subsurface scattering after I apply them to the AiStandardSurface material. I'm trying to not fuss over making it 100% accurate since I'm mostly trying to get it to resemble a pufferfish rather than it being an actual pufferfish. I like how it is turning out so far, but it still needs quite a bit of work...but here is my progress so far.
Showing posts with label Autodesk Mudbox. Show all posts
Showing posts with label Autodesk Mudbox. Show all posts
Wednesday, 24 January 2018
Sunday, 5 March 2017
Maya Lighting & Rendering 2: Mental Ray Part 8 - Displacement Maps
Even though I haven't yet done the other tutorials in the Lighting & Rendering 2 set, I wanted to complete this one as it may be useful to me currently for my Adaptation B project. I can see how it may provide some interesting effects with what I am currently doing in Maya for my other project. It was useful seeing that instead of importing a really high poly mesh from Mudbox into Maya, a displacement map can be used in certain situations.
Tuesday, 21 February 2017
Autodesk Mudbox: Alberto Giacometti Sculpt Progress II
Today I continued to add some texture to my Alberto Giacometti sculpt. I also moved around some parts of the face to try and make it look more like how I wanted and I began adding some paint to the model.
Tuesday, 14 February 2017
Autodesk Mudbox: Alberto Giacometti Sculpt (Progress) & Importing Reference Images
Today we continued working on our sculpting. I wanted to continue adding details to make my model look more like it's been made out of clay. I found the pinch tool helpful to make the edges on certain ridges sharper. We also learned how to import files as image planes to use for references while sculpting. I did not like how the image planes worked as much in Mudbox as it does in Maya, but it does the job.
Tuesday, 7 February 2017
Autodesk Mudbox: Alberto Giacometti Sculpt (Incomplete)
Today we were allowed to sculpt whatever we wanted using what we have learned over the last few weeks. In the past I've done some test models of work by Alberto Giacometti so I decided to try to recreate one of his sculptures. It isn't complete yet, I still want to work on the hair so it isn't symmetrical and I have to add more texture to to the other half and then add some details. However, I'm happy with how it has come out especially when I added some colour to it.
 |
| With Colour |
 |
| Reference - Sculpture by Alberto Giacometti |
Tuesday, 31 January 2017
Autodesk Mudbox: Extracting Normal Maps
Today in our lesson we were given freedom to do some more playing around and sculpting using the meshes that were available to us. We also were taught how to extract both normal and displacement maps, which I can see becoming useful in the future when adding details like wrinkles. We also learned how to pose our model if we wished to and how to texture our model without laying out the UV's. I enjoyed this lesson and I feel I'm slowly getting a grip on the tools, which could be partially thanks to the computers working properly with Mudbox this week.
Tuesday, 24 January 2017
Autodesk Mudbox: Importing & Exporting
Today we learned a bit more about importing and exporting files to and from Mudbox. Todays tutorial was a bit of a struggle, not because of the content we were learning but because Mudbox continuously crashed which made it difficult to make progress and follow along with the lesson. Despite this, I did my best to do some quick sculpting and painting so I could try exporting back into Maya and exporting/importing files with Photoshop. I didn't run into any problems with that and I was able to get a barcode onto my robot using Photoshop, although it came in slanted and I didn't have time to fiddle around with it too much. I found this lesson as useful as I could considering how slow Mudbox was being. I struggle a lot with getting things to look smoothed out or to create even, hard edges but I'm hoping I'll get the hang of it as I practice. I also wonder if ZBrush would be better for this and if it'd be worth seeing if there is a trial or something so I can give it a try. I've also exported the robot as a turnaround just so I could see how that works.
Tuesday, 17 January 2017
Autodesk Mudbox: Introduction
I was very excited to learn about Mudbox because I've heard how useful it is for texturing and because I feel it may prove to be useful for my project since I want to create a very detailed model. I found it a little frustrating at first because I found things became strangely blocky very easily but I know it is the first time I've used it and it'll take a while to get used to it. I look forward to experimenting more with it.
Subscribe to:
Posts (Atom)


