We have recently decided on a workflow since things have been a bit up in the air with this project. It has been fun, but time is running short so we had to try and streamline it a bit. Ethan is now creating the simulations...then I get the geometry to 'decorate' via texturing and lighting. I still have the ability to edit things using MASH if I wish, though. For this intro sequence, I tried to take inspiration from my first few tests for this project, my red cone renders and my initial intro tests along with Phil's animatic.
First I worked with red cubes on a black backdrop...the texture is using the 'wax' preset and I edited the subsurface scatter to give it an organic feel. I also began working a bit with depth of field blurring to give it a more dramatic effect. I don't necessarily like working with DOF in a 'destructive' way like this, but I think it gives a nice look...and considering this is quite a raw way of working, I at least don't mind a little bit of graininess (although this is not up to me).
I later also began swapping the colours so the geometry was black and the background was red. I have no animation for this just yet, but I quite like how this looks as well. I also tried out using subdivision to turn the cubes into spheres to see how it looks.
Not a massive update here, I've been really busy at work and things have been in a little bit of a limbo at the minute. However I hope to begin having more tests up for this project once I get a better idea of what 'feel' each bit of chosen music should have...since we now seem to have our chosen segments.
For this test I essentially took my previous cone animation, exported an alembic cache, then imported it. I then flipped it upside down and adjusted the lighting. I think it looks really interesting and intimidating. I think it would look better with some depth of field as I keep mentioning, I just don't currently have the time or space to render that pass. I suppose I need to clear out my computer soon to make some space.
Things have been a bit crazy and busy juggling my new job at The Flying Colour Company, work as a UCA Ambassador and work on Romeo & Juliet. However, I finally had some time to properly put together some things I've been working on. For these tests I wanted to try changing the 'mood' of these shots a little bit since we will have different pieces of music from the sounds of it, so instead of pastel colours I went for dark shadows and bright red spines/cones.
The first experiment was a bit odd, but I thought it looked interesting...I much prefer the second test though. I may try duplicating the cones and flipping one upside down so it resembles stalagmites/stalactites. I like how it looks more hostile and alien, which may suite darker portions of music depending on the final clip selections. I think it's good to have a variety for now at least until things become more solidified!
Since my previous post about the Spectro plug-in, I've continued to play around with it in various ways. At the time I had received some feedback about having the geometry 'transform' in some way. The experiment below does not quite represent that as I was (and still am) getting used to how the plug-in works. However, it did produce some interesting looking results.
These next few tests build on top of each other. I first worked with a sphere and some deformers that were driven by results produced by Spectro after some editing of the texture/some other nodes. After some animation on the sphere, a golf ball-like shape appears as the sphere itself shrinks down.
The golf ball shape has similar deformers attached to it as the sphere did, so they moved very similarly. From there some diamonds begin to appear and move around the deforming golf ball. Then a more angular shape begins to break and eventually begins to deconstruct slightly (using the 'explode' feature in MASH) and so does the diamonds.
After this I then returned to my initial Spectro experiment (the grid of reflective cubes) to see what else I can do with it. I added a color node to my MASH network after looking through some files Ethan sent me. I then animated the offset node so the cubes disappear and reveal a water-like surface. I tried for a while to get the colour on this surface to animate as well, but the node does not seem to like to work with planes. I did also try projecting the colour after re-mapping the Spectro ramp as well as using layered textures and shaders but had no luck.
So instead I added some spheres that materialise on the surface, which then change colour. I'm not super happy with the animated result as it seems to be quite harsh and 'pop' in some places, but I think it at least looks interesting.
After I managed to get Spectro, a plug-in created by Ethan Shilling for this project, working within Maya I followed some initial instructions so I could begin experimenting and becoming familiar with it.
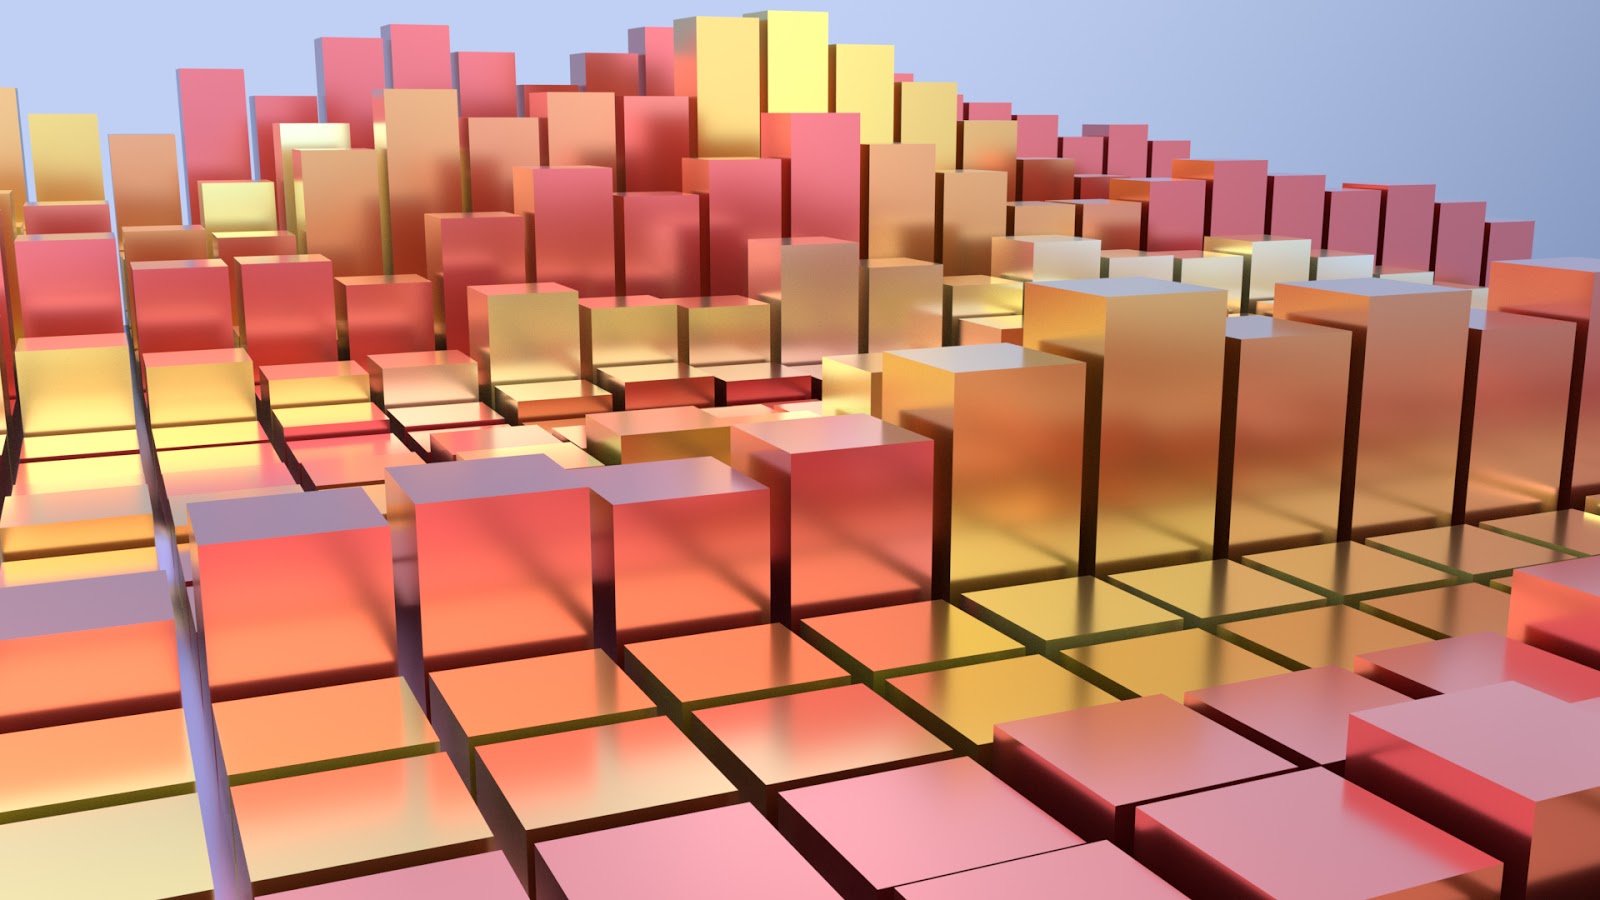
Here is my first little test, where I created a grid of cubes but laid them out so there were no gaps between them. I then created a metallic texture and created a skydome light since I want to continue experimenting with different ways of lighting the scene. I'm excited to see what Spectro can do!
As suggested, I experimented more with colours for these tests. I re-used the glittery pink texture on the simulation itself to try out new colours and I also tried out some background colours. For the glitter texture I tried out blue, gold/yellow, and some ramps that added a variety of colours rather than just one. I also tried out settings to adjust the density, size, and intensity/contrast of the glitter flakes.
#10
#11
Test #10 is pretty much the same in regards to the pink, but I experimented more with the density, scale and normal randomise settings on the other tests. It seems to largely depend on the colours and lighting to determine how intense the glitter needs to be...if it's too intense it looks fake but if it's not intense enough it doesn't look sparkly (Test #15 is an example of how it varies).
#12
#13
For the background I applied a simple aiStandardSurface shader and played around with the base colour and the emission colour/weight. Again I tried some solid colours as well as some ramps/gradients to see how it'd affect the overall lighting/colour of the scene. Out of all these tests I quite like #13 and #14 because I like both the monochromatic look as well as a higher contrast one with the gold against the blue.
I meant to post this earlier but I've been busy both travelling around the US and preparing for SIGGRAPH. Here are some more tests that I've done for Romeo & Juliet. I mostly played around with the idea of a glittery car paint-like texture and experimenting with altering the shape of the pyramids.
#7
#7
#7
I spent some time experimenting with textures similar to glittery car paint. I worked with aiFlakes to create this effect, but after my initial test I had to update Maya since I didn't seem to have the same settings/options as what I read on the Autodesk site. Test #7 is with the non-updated version of Maya and Test #8 has the updated and improved settings. I also tested out some animation to see how the glitter would look when it moved. I think #8 looks much better probably due to the different settings I had access to when I updated Maya. I also added some motion blur to test #8 to see if it'd enhance the animation slightly.
#8
#8
#8
For test #9 I decided to try out putting a displacement map onto the simulation just to see what would happen. Depending on the iterations and the height, I got some interesting results. The base texture was a simple shiny dark grey material. I may experiment a bit more with displacement maps just to see if I can get it to do any other interesting shapes/morphs. I did not really animate the displacement settings so I'm unsure how this would affect the animation or if I could get it to morph from the triangles into other shapes or not. I added motion blur to this test as well.
So here are a few more experiments that I've done. For all of these I kept in the spotlight with some atmosphere as I felt it gave it some nice ambience. For the first test I actually re-used some texture maps from the ice texture I created in Substance Designer. I also altered the temperature of the lighting so the overall feel is cool/monochromatic.
#4
#4
For this test I searched for some marble textures online then altered them in Photoshop so they were tile-able. I played around more with the angle of the camera and spotlight and I think the second image of this test is really interesting. I may render out an animated version of this to see how the low angle and light rays look with animated camera movement and geometry.
#5
#5
Since I liked the low angle I also experimented with it using a random combination of aiStandardSurface presets. I also altered the lighting slightly so it was cooler than test #5 (where temperature was turned off). I quite like this result as there is a slight reflectivity to the triangles.