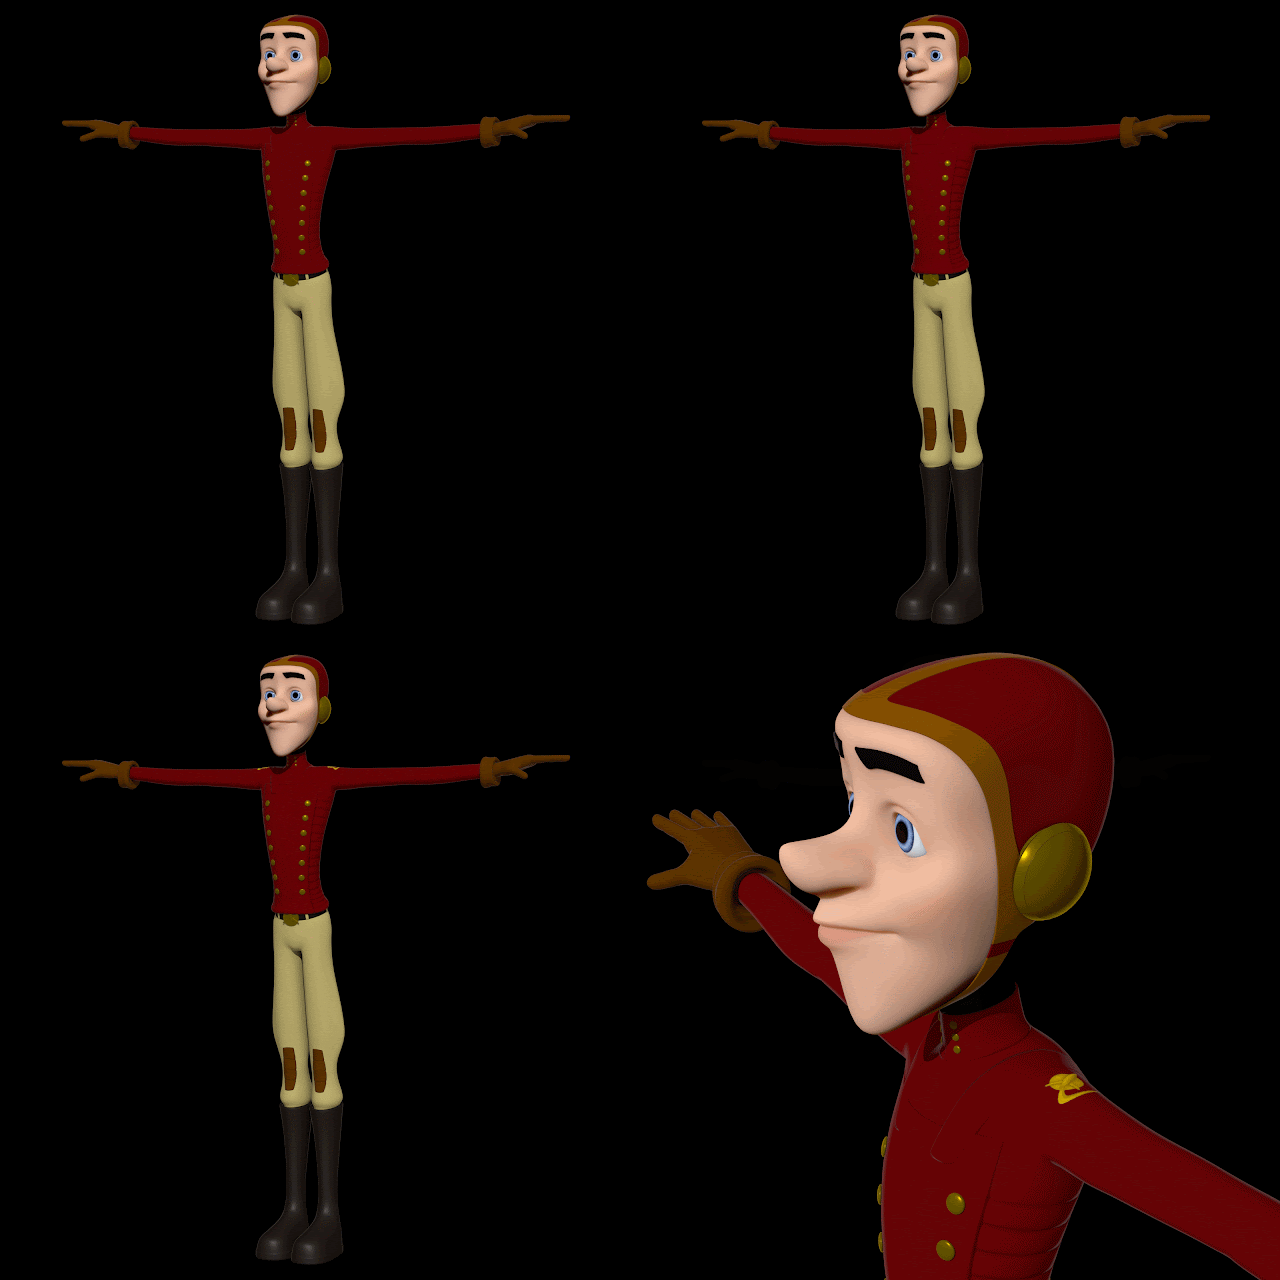
I also tried using a combination of Crazybump and Photoshop to get similar results as seen in the tutorial. Even though this option required a lot of painting and layering different versions of the Ambient Occlusion Maps to get them to work right, I found this gave me better results. I also was unable to create an 8k paint layer in Mudbox, so I settled for the 4k one. I tried my best to smooth out the edges of the badge the best I could in Photoshop afterwards by selecting the layer, feathering it by 1 or 2 pixels, then copying and pasting it to a new layer. While it isn't as ideal as being able to use the 8k map in Mudbox, I think it looks decent enough.
Tuesday, 16 May 2017
Maya Pipeline 1: Texturing - Body Texturing (Part 7)
In this tutorial, texturing continued by using Ambient Occlusion to add some initial details. After this, the torso was brought into Mudbox for cleaning up and adding some more details such as shadows behind the buttons and the badge on the shoulders. After this, a red stripe was also added to the head strap. I ran into a few issues during this tutorial...I was unable to use the xNormal software because I have a Mac, so I tried a few other techniques to get my Ambient Occlusion maps. I tried baking them out like how the normal maps were baked out, but I got some really strange results sometimes and I wasn't really able to preview them without waiting for them to load out (although I did a few tests that were 2k maps or smaller just for preview purposes).
Subscribe to:
Post Comments (Atom)


No comments:
Post a Comment