Showing posts with label Digital Set. Show all posts

Thursday, 19 April 2018

Major Project: Rotting / Scars Composites & Room 006 Composite Tweak

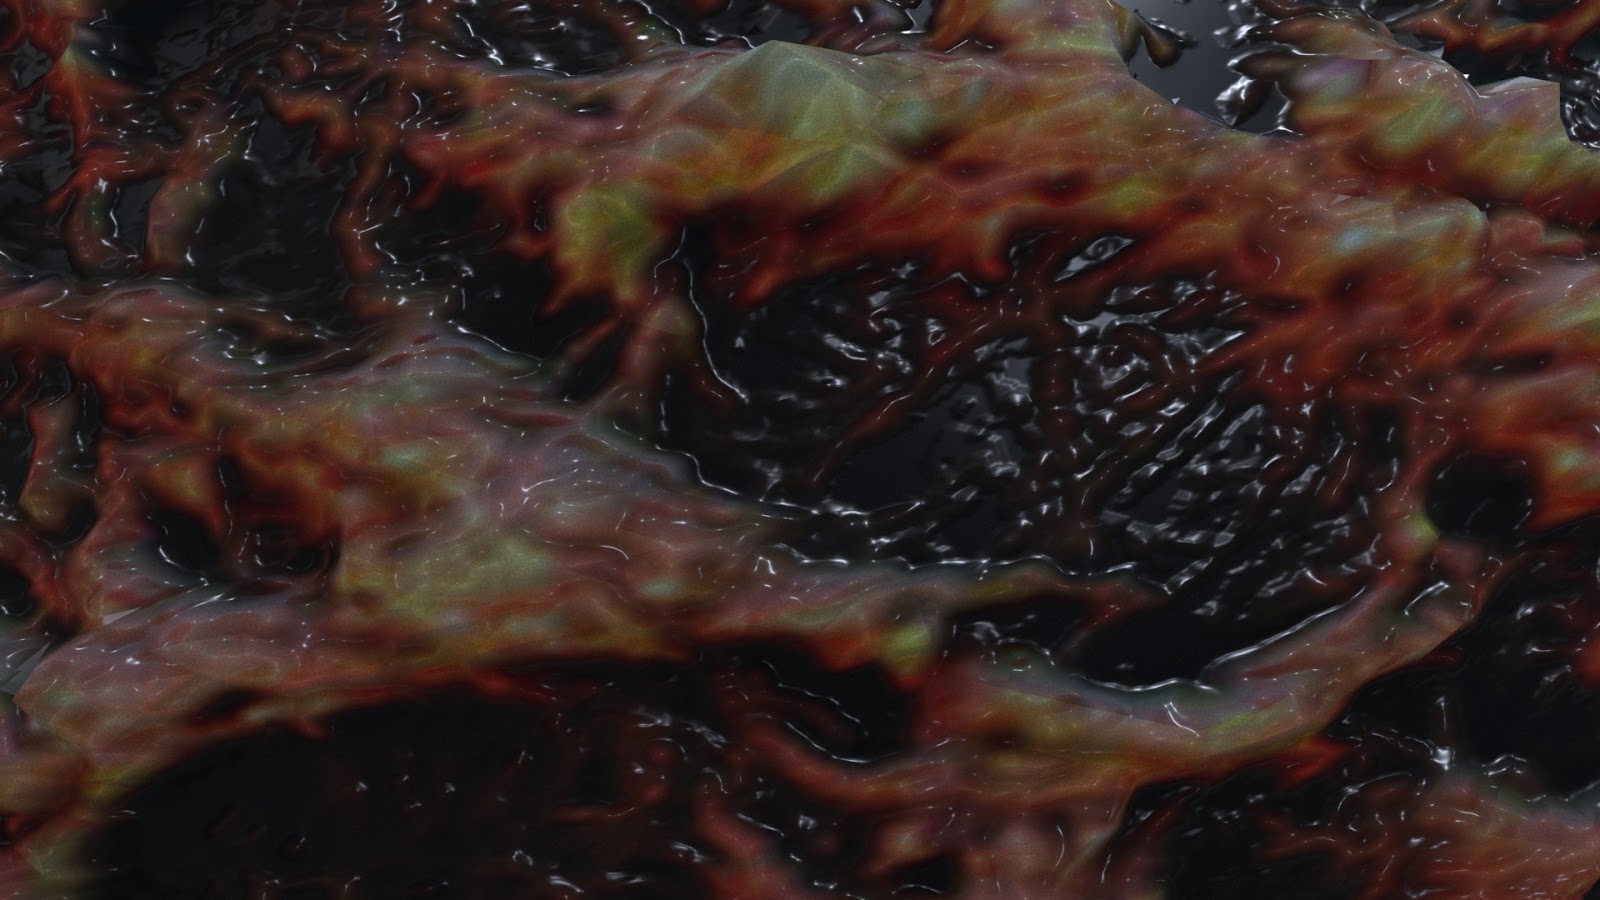
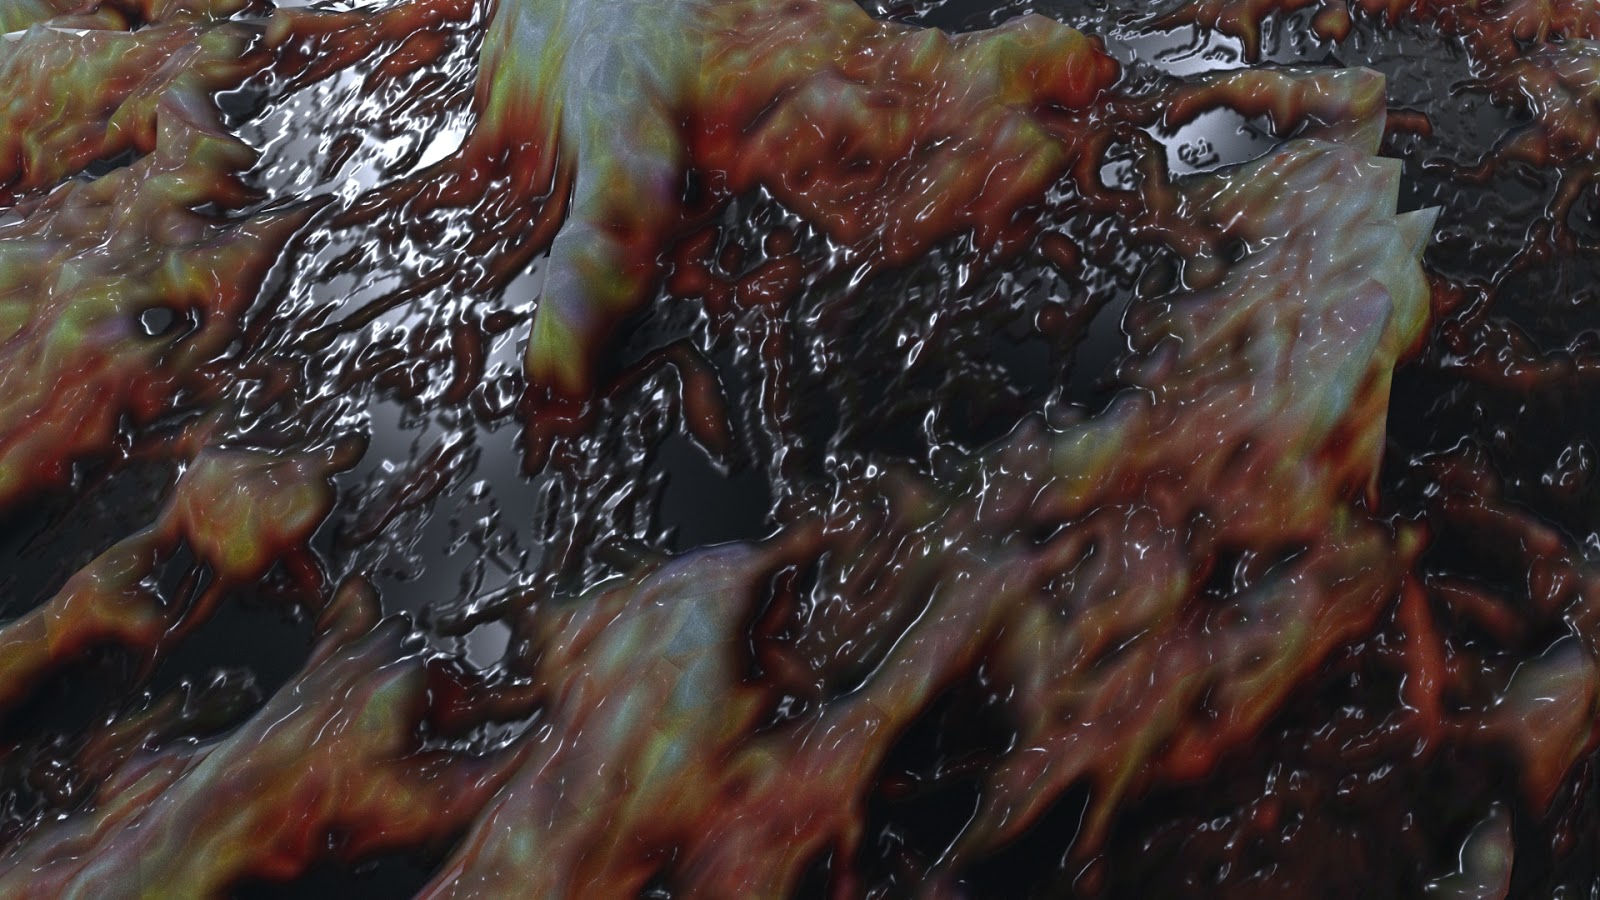
Despite having a few minor setbacks over the last couple of days, I have my two new shots for rotting and scars completed. I also finished rendering the room 006 shot so the camera slows down near the end instead of speeding up. Hopefully this change is an improvement, if it still needs some tweaks I can work on it but I think it's better than it was before.

I'm happy with how rotting and scars came out, I'm glad I spent some extra time making the meat entity look extra slimy in this shot since it's meant to induce feelings of disgust and illness. I think the new 'scars' shot is stronger than the room shot I originally had.

Rotting Composite (Pt. 1)

Rotting Composite (Pt. 2)


Scars Composite


Room 006 Composite (V. 2)


Today I also spent some time in the sound booth recording whispers of a range of my negative thoughts, or disordered thoughts as I tend to call them. I also recorded a number of things people tend to say to me that frustrate me. This varies from things people say when they think they are being supportive, general comments that showcase how uneducated most people are in regards to mental illness, or the lack of empathy people have in regards to mental health at times.

In the next few days I should have some Audition tests using these recordings to see how I can create 'whisper soundscapes' to use in conjunction with certain entities. I also hope to have an overall new edit of my film with new shots and other changes in accordance to the feedback I recieved at some point this weekend or early next week.

Tuesday, 17 April 2018

Major Project: 'Scars' & 'Rotting' Test Renders #2 & Scene Cleanup

I've continued tweaking these two shots and I'm happier with where they are at now. For 'scars' I decided to start out with the bricks even less displaced than they are in most room shots. Normally they are at their flattest at a 0.150 displacement value but for this shot I set it to 0.100 just so there was a more noticeable change to the surface as the bricks move. I also changed the animation curve slightly to adjust the timing.

Scars Test Render 004


For 'rotting' I decided to keep the displacement map animation very subtle because the more obvious change didn't look right to me. It is hard to see in the test since it's low quality, but I think it'll be more visible in the final render.  I also adjusted the specularity and coat settings a little more so it looks more wet and slimy.

Rotting Test Render 003 (Pt. 1)

Rotting Test Render 003 (Pt. 2)


I've also spent some time cleaning up the renders now that I'm happy with the animation. The brick shot wasn't too complex to figure out since it's essentially the same settings as my other room shots. For the meat, however, I wasn't sure if I wanted to set the subsurface samples to 4 or 5. I tested out a few frames and determined that the difference between the two were very minor, but setting the samples to 5 doubled the render time so it wasn't worth it.


Monday, 16 April 2018

Major Project: Room 006 Re-work

It was suggested to me to adjust my Room 006 shot. I use this shot in the beginning of the film to help establish the set, but the fast camera movement near the end of the shot resulted in a cut that didn't work as smoothly as it could.

Room 006 Playblast (Original)

Room 006 Playblast (New)

This is fine with me because this particular shot was one of the first ones I set up to render and actually had different render settings to the other room shots, making it more difficult to get it consistent with the others. Originally this shot had a linear animation curve, but I've went back into the scene file and changed it so it has an 'ease out' near the end. Hopefully this is now improved and will work better in my film.

Graph Editor


Tuesday, 6 March 2018

Major Project: Room Shot 001 Rendered

This shot is the first one to finish fully rendering, so I wanted to share it. Overall I'm happy with how it turned out, although I may return to the shot later down the line if I have time and just slow down the breathing brick effect, but I'm still happy with how it's come out. I'm sure I could slow it down slightly in After Effects as well if I wanted to. For this shot I added colour correction, motion blur, vignette, some Lumetri Colour effects as well as very slight blurring around the corners (similar to the vignette).


Thursday, 1 March 2018

Major Project: Scene Cleanup & Lighting / Texturing Tweaks #3

I've continued working to clean up my room shots so they are prepared for final rendering. This has been a long process, as I was struggling to get the bricks to look the way that I wanted. In my previous post, I mentioned using smooth tangents to fix the faceted appearance that some of the bricks were getting.

For some reason, in some of the shots it made the bricks appear almost flat - their specular highlights were much more faded or gone and darker shadows/marks appeared. I wasn't quite sure why this was, and after a whole day of rendering yesterday, trying out settings, and reading articles... I was ready to just settle on it. I'm unsure if it was just a bug, other things running on my computer interfering with the renders, or something odd in the file causing interference with rendering.


However, after I was ready to just settle on it I found a thread online discussing normal maps in Arnold. Someone said that normal maps don't work quite so well in Arnold, so I decided to return to my scene and remove the normal maps since I know that there is an auto-bump option in the displacement settings. I also purchased the high res versions of my textures so I can use a 4k map for the height to get more detail for the bump as well.


This seems to work better and results seem to be less faceted than using a normal map, despite it working fine in some other shots. For example, the shot below looks fine with the normal maps and without, but I like how the shine on the bricks and overall lighting looks in the non-normal map version more.


 I'm going to continue to look into this, but as long as I achieve the look that I want it's fine. Again, the other shots that I am rendering looked fine when I tested out the test frames frames, but I'm sorting this out early enough so if I do need to go back and re-render I have time. I'm going to be going back to my previous room shots and check if they look better without normal maps too.


Tuesday, 27 February 2018

Major Project: Scene Cleanup & Lighting / Texturing Tweaks #2

Here are a few more shots I've been working to clean up and tweak. Like I mentioned in my previous clean-up post, I tried to remove as many lights as I could, adjusted the samples (render settings, lights, and aiAtmosphere), limited the rays where possible, clamp samples, and increase the low light threshold.

This is all in preparation for final rendering, and seeing that I have some shots locked down (even if I choose to rework them later on if I have time or need to) puts my mind at ease somewhat. I cleaned up my needle shot as well as my wires shot...although with wires I know I may decide to go back and tweak since I put that one together relatively quickly. I'm also aware that the wires are a little difficult to see, so I plan on rendering out a mask pass so I can blur the background slightly if needed.


I've also begun working on cleaning up my room/brick shots. These shots take less time to render than some of my other scenes such as needles and gem, but again I'm glad that I'm getting stuff ready to render so I have a selection. During these clean-ups I also noticed that odd stretching in the bricks again. I did some research and tests and discovered that ticking the 'smooth tangents' option and setting Adaptive Error to something around 0.010 decreases this and makes the bricks appear sharper.

Adaptive Error (0.000) - Smooth Tangents Off

Adaptive Error (0.015) - Smooth Tangents On


I wish I knew this previously, since I already have some shots rendering. However, that is why I'm cleaning up these scenes early...so I don't discover things like this last minute. Luckily the scenes I'm rendering will probably be fine anyway since the bricks aren't super up close to the camera or the shot will be focused on a specific object. But, if I need to re-render a few things then I'll have time.


Saturday, 24 February 2018

Major Project: Static Mesh Light Test #1

Now that I know I can successfully create static in my final digital set, I wanted to see if I could integrate it into the scene more. To do this, I decided to convert the orb into a mesh light and plugged the TV static footage into the light so the brightness would change depending on what the static was doing. This means that the light from the static will flash and influence the lighting in the room as well as the atmosphere. For this shot I have the mesh not visible and composited the orb back in as I have done previously so I could have better control over it.

Initially I didn't like how this turned out, but after tweaking the brightness in AE (in the initial render the flashes were far too bright I think) I liked the results much more. I want the light to influence the environment, but not so that it's too distracting. As mentioned in the 'mesh lights' tutorial, there is a lot of noise cleanup needed with a mesh light...right now this test looks very grainy but I didn't want  the render to take too long. There are also some odd shadows on the wall in the beginning of the shot that I have to investigate. I'll continue to experiment with this as I think the flashes could really enhance this shot.

Tuesday, 13 February 2018

Major Project: The Room Playblasts & Animation #1

As mentioned previously, some lines in my poem cannot really be represented by specific objects or textures. In addition to live action footage, I needed to put together some environment animation to occupy those specific shots. During my discussion yesterday, it was also suggested to have some time in the beginning of the film where the audience is 'left' in the room before the actual poem starts - so the viewer can see and experience the room itself before the film starts. 

For these three playblasted shots, I put in a temporary piece of geometry to represent the lights since you can't see where the light really is in the playblasts. The first shot I tried out a contra-zoom-like effect which I thought looked really interesting, especially since in the final render the bricks would be 'breathing' as well. The light is also flickering in this shot, which is difficult to see, but I was more focusing on the camera movement in this instance. 


The second test I wanted to focus on the entrance doorway (although people many not know that's what it is). I placed the camera low on the ground, then had it face up towards the ceiling more. I did this to try and make that specific door feel more intimidating, and to also try and represent that there is no exit or escape (no seams, just bricks).


For the third test I wanted to try having the camera higher up, starting from a somewhat awkward angle almost as if it was hiding in the corner, then having it turn and show the majority of the space. I had the camera roll to the side to try and make it feel more uneasy and 'off'. I also feel this particular shot is like security camera footage.


It was also suggested that the film begins pure white, then the camera zooms out, revealing the white is from the light on the ceiling. This could then be reversed at the end, so the film ends with the camera zooming back in on the blinding lights. I really liked this idea so I began working with environment and camera animation for these shots. I had to fully render this shot since I needed the lights to be visible, but I'm glad I did that because the subtle 'breathing' bricks can also be seen. I think some shots I may exaggerate the brick's movement more.

Thursday, 1 February 2018

Major Project: The Room - Brick Displacement Test

Since I've been using Arnold to test out different lighting and atmosphere effects for my Room, I decided to also experiment with animating the displacement map for the bricks. I wasn't sure how this would turn out, if it would look silly or not, but I actually like the result. I think the way that the displacement morphs and moves the walls and bricks could help create an unsettling feeling for some shots especially if combined with changes in lighting/flickering lights and distortions in the camera.

Major Project: The Room - AE Lumetri Color #1

I spent some time looking through some more color correction effects in After Effects and decided to test out the Lumetri Color effect. I only really experimented with the 'look' channel and its intensity. I quite liked some of the effects it had, especially the blue/green ones. Some of these are pretty extreme, but can be toned down later on (I kept the intensity relatively high so the difference can be seen). This may be useful later on even if it's just for a subtle effect... I found it fun seeing what the different effects the presets created.