Since
I experimented with Substance Painter and felt that both Substance Painter and Substance Designer could be useful tools for my project - I decided to go in and try Substance Designer. I was intimidated by Designer more so than Painter because it appeared to be much more technical. Rather than painting on materials - in Designer you create the materials/substances that can either then be brought into Painter or into other external software such as Maya.
I watched a few tutorial videos so I was aware of the basic controls, buttons and interface. I then found
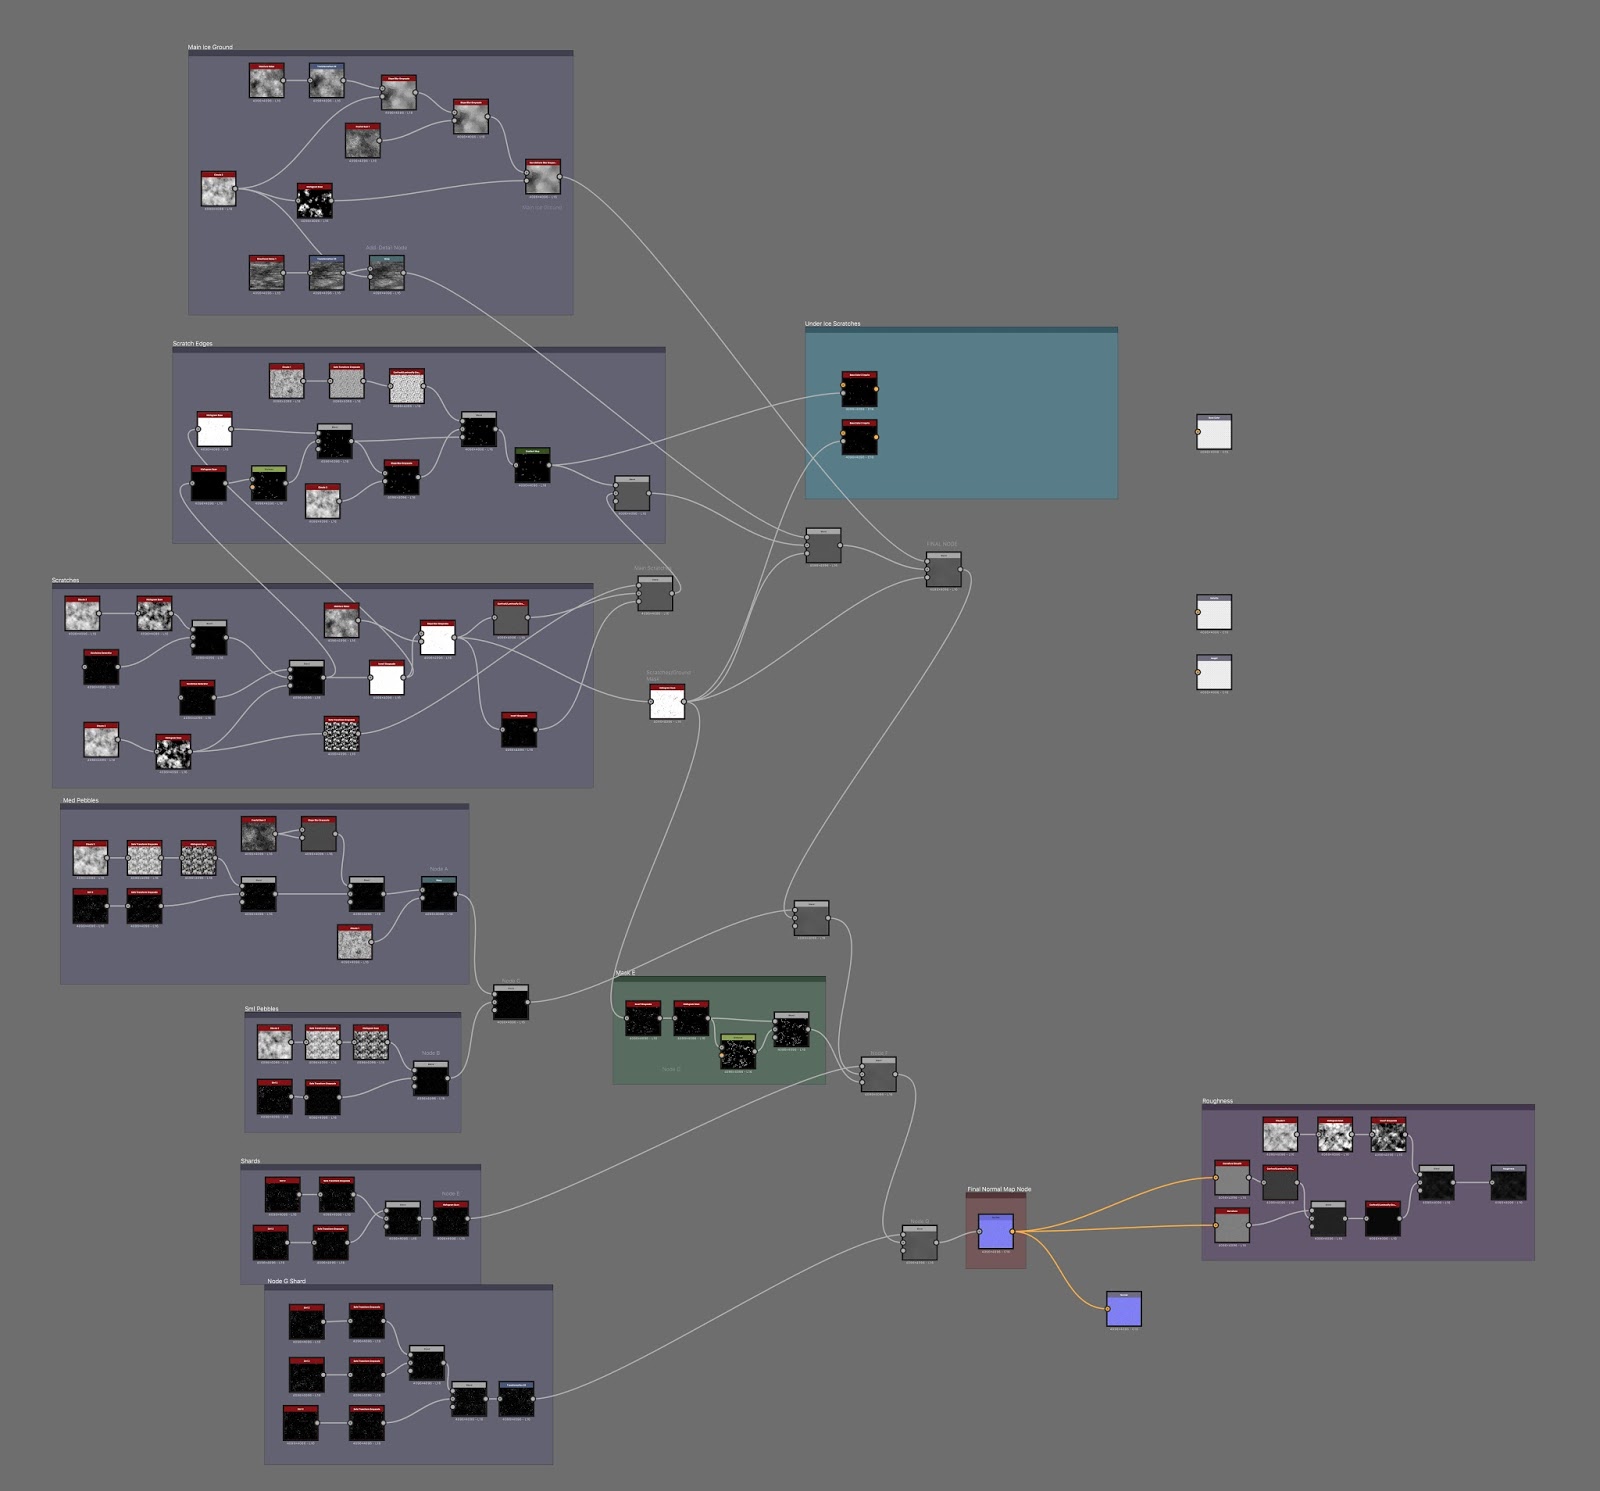
this tutorial on how to create an icy surface and decided to give it a try. I found it very difficult and confusing at first, but once I became aware that a lot of the nodes are similar to ones found in Maya (just named differently and sometimes work differently) things became a little easier. I strayed slightly from the tutorial since some of the screenshots explaining the steps were difficult to understand anyway.
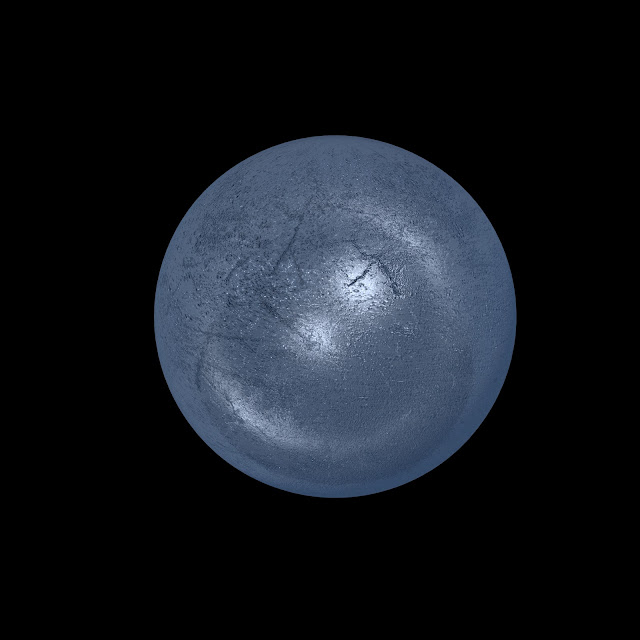
I have not created the colours yet as I found these steps really confusing since the screenshots don't seem to match up with what is being said in the instructions. I plan to give it a try anyway, but I wanted to share what I've made so far. So far I've created a roughness map and a normal map that have scratches, various ice pebbles, and ice shards. I exported these maps and brought them into Maya (at the moment using Mental Ray).
I applied these maps onto a sphere using the Mia_Material_X shader and found it took a very long time to render probably due to the refractions and reflections in the glass preset. I also tried it out on a basic Blinn shader to see the difference in appearance and render time. I'll need to try this out in Arnold and make adjustments...I'll need to compromise between realism/what I want vs render time but it may also just be my computer being slow.
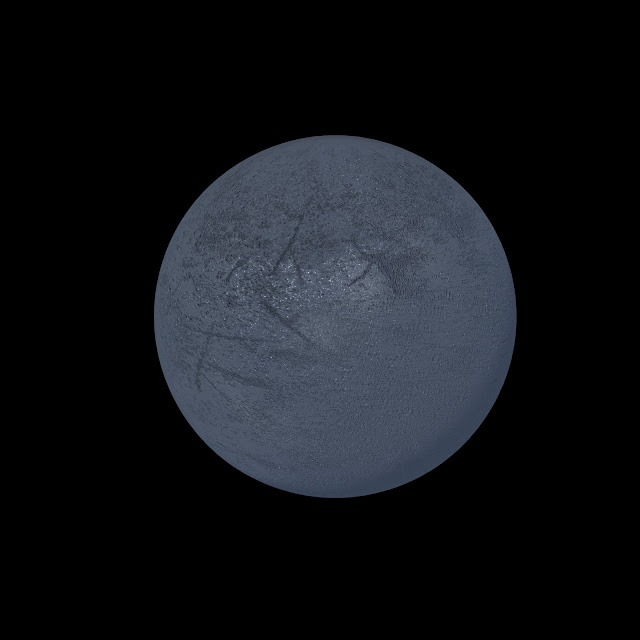 |
| Mia_Material_X |
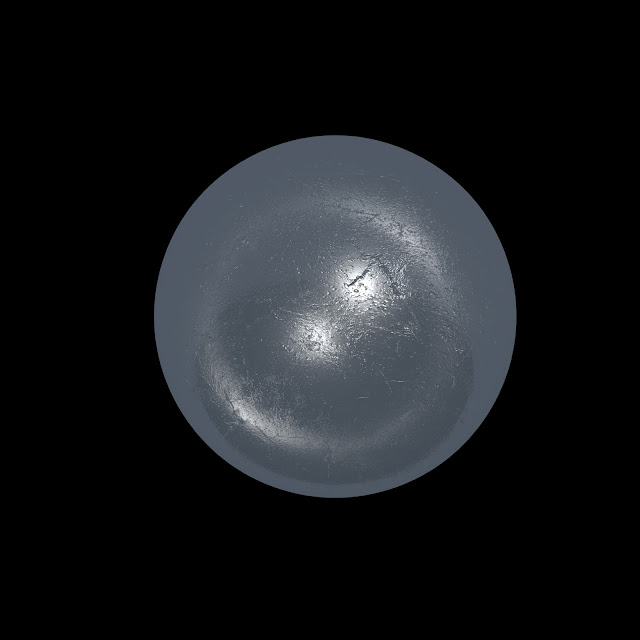 |
| Blinn |
I then brought these two renders into After Effects to see how I could combine them and enhance the effect since each render had traits that I liked. I adjusted the colour and gamma depending on the effect. Here are some results and what blending modes I used.
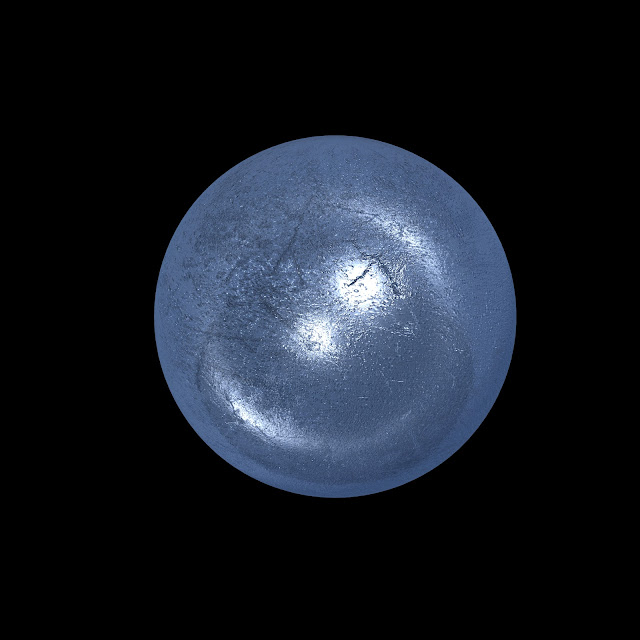 |
| Add |
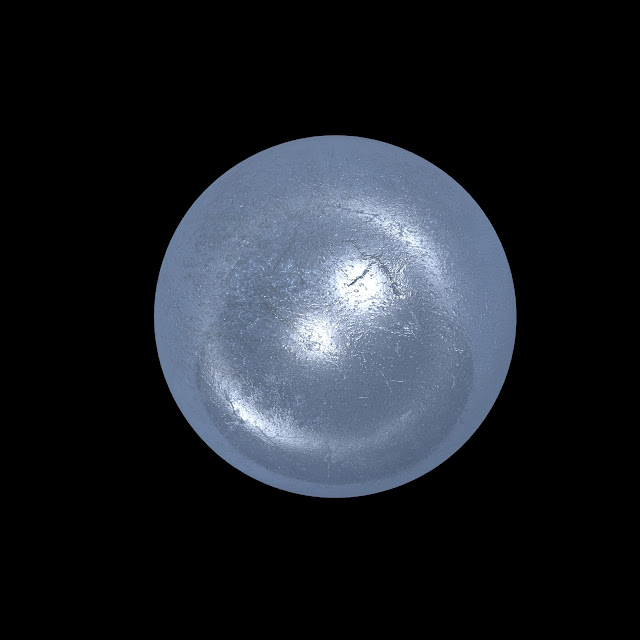 |
| Classic Colour Dodge |
 |
| Hard Light |


No comments:
Post a Comment