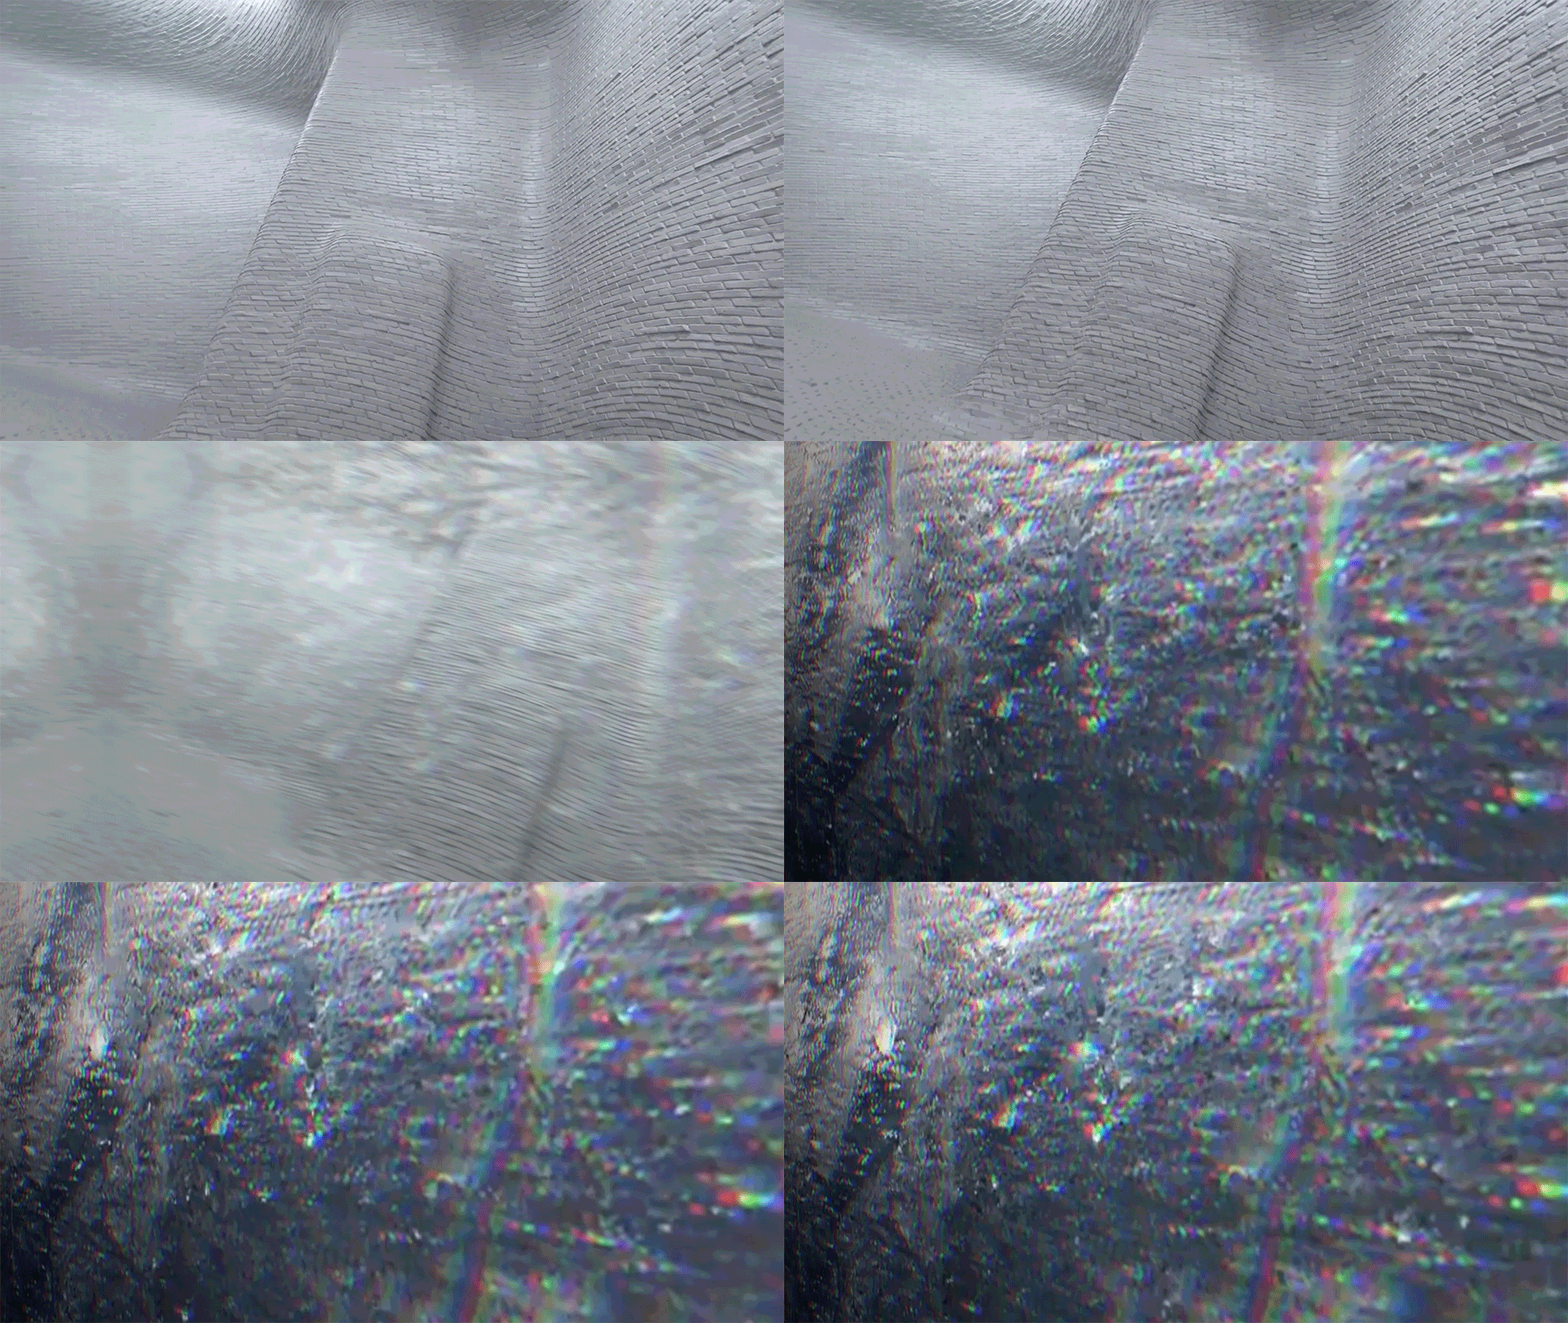
Things have been a bit crazy and busy juggling my new job at The Flying Colour Company, work as a UCA Ambassador and work on Romeo & Juliet. However, I finally had some time to properly put together some things I've been working on. For these tests I wanted to try changing the 'mood' of these shots a little bit since we will have different pieces of music from the sounds of it, so instead of pastel colours I went for dark shadows and bright red spines/cones.
The first experiment was a bit odd, but I thought it looked interesting...I much prefer the second test though. I may try duplicating the cones and flipping one upside down so it resembles stalagmites/stalactites. I like how it looks more hostile and alien, which may suite darker portions of music depending on the final clip selections. I think it's good to have a variety for now at least until things become more solidified!
Here is the updated shot for my meat entity. I've changed it so it appears to be a little more shiny/slimy and there is a subtle pulse animation as well. This was quite tricky to put together since I decided to render out just the orb to decrease render time in order to have this ready for New Designers.
It caused me some trouble at the compositing stage because of this, but I managed to sort it out. My final edit for New Designers is now just rendering out and should be ready in time. I'm admittedly not too happy with myself that this is so last minute...but I should have everything ready.
Here is the final composite of my tweaked 'rotting' shot. There is a very subtle 'pulse' animation and I also tried making it look more shiny/slimy. I'm attempting to render out my other meat shot without the room in the hopes that I can composite it on top of the original render like what I did for my 'silk' composite.
I'm unsure if this will work, but if it does I should have it done in time for New Designers due to the decreased render times. If not, then it will not be the end of the world because I think having the subtle animation added to this shot is more important and benefits it greatly as it takes up the whole frame.
Despite having a few minor setbacks over the last couple of days, I have my two new shots for rotting and scars completed. I also finished rendering the room 006 shot so the camera slows down near the end instead of speeding up. Hopefully this change is an improvement, if it still needs some tweaks I can work on it but I think it's better than it was before.
I'm happy with how rotting and scars came out, I'm glad I spent some extra time making the meat entity look extra slimy in this shot since it's meant to induce feelings of disgust and illness. I think the new 'scars' shot is stronger than the room shot I originally had.
Rotting Composite (Pt. 1)
Rotting Composite (Pt. 2)
Scars Composite
Room 006 Composite (V. 2)
Today I also spent some time in the sound booth recording whispers of a range of my negative thoughts, or disordered thoughts as I tend to call them. I also recorded a number of things people tend to say to me that frustrate me. This varies from things people say when they think they are being supportive, general comments that showcase how uneducated most people are in regards to mental illness, or the lack of empathy people have in regards to mental health at times.
In the next few days I should have some Audition tests using these recordings to see how I can create 'whisper soundscapes' to use in conjunction with certain entities. I also hope to have an overall new edit of my film with new shots and other changes in accordance to the feedback I recieved at some point this weekend or early next week.
As I was creating the first edit of my film, I decided I wanted to create another shot that focused specifically on the bricks so I had some more variation. I thought it would be interesting to film the bricks that bend upward to form the bed. I really like how this shot looks, especially when you see beyond the top of the bed.
Brick 003
Brick 003
I also decided to render another 4 seconds worth of my gem shot after it's spiked outward. I'm unsure if this footage will be useful, but I wanted some extra frames just in case since I feel this scene is one of the more powerful ones. Unfortunately, despite my efforts to get them to transition perfectly there's a little bit of a jump. There was also a slight variation in the lighting even though I used the same scene file. Due to this, I also uploaded a version of the shot with glitch effects to show how I could hide this using VFX. Even though it's not perfect, I'm glad I rendered these extra frames out if I decide I want them...luckily this shot has glitch effects to it anyway.
Gem Composite w/ Glitch Effect
Gem Composite w/ Glitch Effect
I've also begun re-compositing my scenes since I want to ensure it is as consistent as possible with the colour and lighting. I also wanted to remove the vignette effect, blurred edges, and film grain so I can add that overtop the whole edit to further glue the film together and make it cohesive. I re-composited my Opening/Closing shot first, and I've been using that as reference for the other shots. I know they won't be perfect and I can continue to change and correct things, but I think the shots are already feeling more uniform.
Today I spent some time working with the Video Copilot plug-in 'Twitch'. This plugin helps streamline the process of creating glitch effects and while it contains some presets, you do not get good results for free. Even when testing out some of the presets I often had to re-work them with some custom settings. I found if I did not spend time going in and tweaking the settings, the results were far too extreme or bizarre...but it gave me a good starting point.
Also to note - the footage I used for these tests may not be the final clips (for example - my grandfather's clip), I'm just using my pre-vis to experiment with. Some of the tests below showcase the presets with some tweaks I've made to tone them down and apply them to the shots better.
Glitch Test 001 - Custom Settings
Glitch Test 002 - Color Tearing Preset
Glitch 003 Test - Crazy Man Preset
Video Copilot Twitch Plug-in
This plug-in is a large time saver as it takes all of the settings I would have needed to create good glitch effects and organises them in a more intuitive manner rather than me creating them by creating several pre-compositions and layers. I can choose what aspects of the glitch I want - including blurring, colour/tint, light/brightness, movement of the footage (slide or scale), and time (so the footage jumps forward or backward making it appear jittery). There are also more effects are under different categories, such as RGB splitting under 'slide' - an effect that I think works well for certain shots in my film to bring some colour into the sterile white space.
Glitch Test 004 - Side Swiped Preset
Glitch Test 005 - Bloom Preset
Glitch Test 006 - 360 Spin Preset
I've really enjoyed playing with this so far and I think it will give me really creative and dynamic methods for transitioning between shots in addition to my light flickers. I think it will also be effective for adding greater distortion to more 'disordered' entities in combination with other effects. I look forward to testing this out some more to see what I can do with it.
My second flicker/flare shot has now finished rendering again and I'm much happier with how it looks now that I've slowed it down. I now have 7 shots where the lights are animated - 2 of them have the lights flare and in the rest they flicker (one of these being on the vertebrae shot). Once I do some more live action re-filming so I have all of my live action shots within the Maya space, I think I'm going to go back and edit another version of my film and begin playing with some glitch effects.
From here I'll also be able to see if I need any new transition shots or if I should return to some scenes that contain different entities and re-film frames to add in a flicker. This would be if I need to transition into a live action shot from a specific entity. For example - if after skin I wanted live action then I may re-render a few frames of that shot to add in a light flicker.
My third flicker/flare shot has finished rendering and is now composited. I'm still waiting for 002 to re-render so I'm happier with it. I may create one or two more flicker/flare shots just to be sure I have some options.
Here is the second flicker/flare shot to assist with transitioning between the CG space and live action footage. I'm not that happy with this shot because I accidentally had the camera move too quickly, meaning I had to remap the time in After Effects which looks odd and laggy to me. I'm planning on going back into Maya and fixing this.
I also decided to migrate my composited shots onto Vimeo to ensure that my footage is as backed-up as possible just in case something happens. There are a few shots that I still want to tweak in the compositing stage, such as 'gem' as I feel the room looks a little too blue in that particular scene.
Flicker 002
I also created a few more renders of my snowball for the purposes of my Art Of. I focused on some closer renders so the finer structures/details were visible to exhibit how the snow appears to have ice crystal-like structures.
I began putting together a few extra room shots that feature a light flicker or light flare effect to assist transitioning between live action footage and the CGI space. I currently have two 'flare' shots rendering, and I hope these three new shots along with a few other shots I already have that feature light flickers will be enough for transitions but if I need to make a few more I'll have time.
My snowball shot finished rendering, and as predicted I think the falling snowflake scene will work better for the line when I think of my family I see snow. That said, I still quite like how this shot looks and perhaps it will be useful for when I see hospitals I feel unbearably cold as I could inter-cut it with the live action footage I've been using. I'm not sure if that's what I'll do or if I'll just abandon this shot, but it's an option.
Finally, I have the final version of my soap bubbles shot. This shot was causing me some problems while compositing because some of the frames were giving me errors on my Mac but not on my Windows PC. I now have it composited together though and I think I may prefer this one over the others because it has that really subtle camera movement but I have all 4 versions to choose from when the time comes. I also worked on a few more layers of blurring in AE so it was overall blurred more at the start of the shot.
Here are a few more shots that are finished rendering. This snow scene, as I mentioned in a previous post, may be replaced by a 'snowball' shot rather than the shot below. I do like how the render came out, but I'm unsure if it is too soon to break away from the pattern of the sphere entities when I discuss my family and snow. Either way, the snowfall scene is one of my several options for this part of my film.
Below are three of the soap bubble scenes that I created. One shot (version 002) is still missing a few frames for the room pass as it was the only one that had camera movement. That one should be done soon, but I wanted to share the other versions anyway. Again I'm glad I spent some extra time on the soap bubble texture, the liquid animation is subtle but is a nice detail if you notice it.
Original Version
Version 001
Version 003
Excluding the last soap bubble shot, the 'snowball' shot, and any live footage re-filming I'm pretty sure all of my major shots are rendered and have a basic composite file set up so I can just go back and tweak them to ensure they are consistent. I'm relieved that I managed to get all of these shots rendered in time. Seeing the high render times for some of the scenes made me quite nervous but I think planning and keeping track of everything using diagrams and charts really helped me stay on top of things.
My pufferfish, skin, and silk shots have now been rendered and composited. That means that the only heavy shot left is the soap bubbles and a possible snow re-work, which is a relief. For these shots I played around more with animating different effects to affect the scene. For pufferfish I animated the vignetting and blurring to become heavier as the animation progresses to ensure the focus is on the pufferfish. I included a GIF showing the buildup of this shot including the different render passes that I used.
For skin, I blurred the skin to start with so it was somewhat unrecognisable and mysterious. I want there to be a sense that it is something fleshy - but it is unclear exactly what it is as I discuss how I see my skin when I see chicken skin. As the animation progresses and the camera pulls away, the blurring decreases, revealing that the audience has been looking at an orb of bumpy flesh.
I wanted silk to remain simple and elegant. I haven't added much additional blurring although I have a matte pass if I decide to add this later on. I did add in slightly heavier motion blurring than I do on most shots to soften this animation some more. I also have quite heavy vignetting on this scene to make the whole shot feel softer.
Overall I'm really happy with how these three shots came out, especially silk since it was hard to determine how it would look based on my test renders due to the graininess. All of the blurring and vignette animation can still be changed, I just wanted to see how it could change how the shots felt and where the focus was.
As mentioned in my previous post, I rendered out a test with the animated soap bubble texture. In this particular shot it is very difficult to see, but I do think it adds a little extra life and colour to it. This being said, the camera angle will be changing so I have the opportunity to have a closer shot of the bubbles anyway, so it may be more visible when I begin working on the final shot.
I also tested out the bubble depth of field and it seems to be working the way that I want now. For this shot I added several layers of camera lens blurring to both the background and the bubbles as well as an animated vignette, motion blur, film grain and blurring the edges of the frame. I really want to bring the audience away from the room and focus on the simplicity of the soap bubbles in this shot.
I did notice some white circles in some of the bubbles, though. When I did my first tests several weeks ago I thought it was from the lights, but I think it's the reflections of the other bubbles in the scene. I'm not sure if this is due to the amount of rays in the scene or other settings, but I'll have to investigate this further. This may also change when I move the camera around. Hopefully I can get rid of them, but even with them there I like how the bubbles are looking.
A few weeks back I began struggling with my soap bubbles when I decided I wanted to render them separate from the environment. Due to this, I decided to postpone working on this scene until all of my other shots were sorted. Some of my problems included dark spheres appearing in the reflections of the bubbles despite having enough samples and rays and the transparency not working the way that I wanted to once the passes were brought into After Effects. I brainstormed list of what I could do to fix this - but as I opened up the file I decided to render out some test frames and bring it into After Effects for one really simple test. I changed the 'Mode' on the bubbles from 'Normal' to 'Screen' - and they worked the way that I had originally wanted.
It was a very simple change, which is frustrating but also relieving. It seems to work fine this way - the bubbles are rendered on their own but also contain the reflections from the room. This should allow me to blur the background without blurring the bubbles as well as apply depth of field blurring to the bubbles only. I still need to test this to be completely sure that it'll work properly, though. I will set up a render tonight to see how it works.
I quite like how it looks, but I need to test this further since I'm using particles and an instance to animate my bubbles. I'm unsure if the animation on each bubble would be exactly the same. Luckily, if I render the bubbles separate from the environment anyway, it wouldn't take too long to tweak the bubbles. I will do an initial test first and see if there are ways of randomizing it by having the particles rotate if need be.
This is the final render and initial composite for sponge. I'm thinking of rendering out a depth pass so I could work with some camera lens blurring in this shot.
Over the weekend my bleach and vertebrae shots finished rendering. I'm really happy how they both look, although for bleach the raw render came out very yellow compared to my previous renders. I'm not quite sure why that happened, but luckily this shot is essentially in grey-scale so it made colour correcting easier. I'm happy how this animation came out, I was trying to go for a sort of 'boiling' feel to it and I think I achieved that to a certain degree.
I'm also really happy I spent that extra time animating the displacement map of the vertebrae. I think the subtle growth of the bone plates adds a nice detail to the entity. For this particular shot I rendered the depth pass out as EXR files to ensure I had more flexibility and it seemed to work well.
I've been using two of my computers at home to render the shot for bees. Since I felt it was a shot that could easily go wrong I wanted to be able to supervise it more. I'm really happy with how it turned out, especially when effects like motion blur are added to it. I'm relieved this shot came out alright and that I can now move onto rendering the snow scene at home.
I'm not 100% sure what I want to do for the snow as I have particles in Maya that I used previously (camera animation and duration has since been altered) but I know how to make snowfall in After Effects as well. I plan on rendering the snow and the room separately so I have the option to do either or both.
I've also been routinely updating my rendering chart to have a better idea of what I have managed to accomplish over the last few weeks and what is still left to be done in terms of rendering. I didn't realise how many shots I've managed to render out so I'm quite happy with that. I think the next shot I'm going to focus on is silk since I already have the animation locked down I just need to create the final texture for the silk itself. That shot also has a lot of frames so I'd like to get it set up to go as soon as I can. I'll then probably focus on pufferfish and then finally the soap bubbles.
Once I have all of these shots all sorted I'm going to be working on some experiments with bringing my live action film into Maya for re-filming. I'm guessing/hoping this wouldn't take too long to render. I then also look forward to playing with VFX and some sound design.